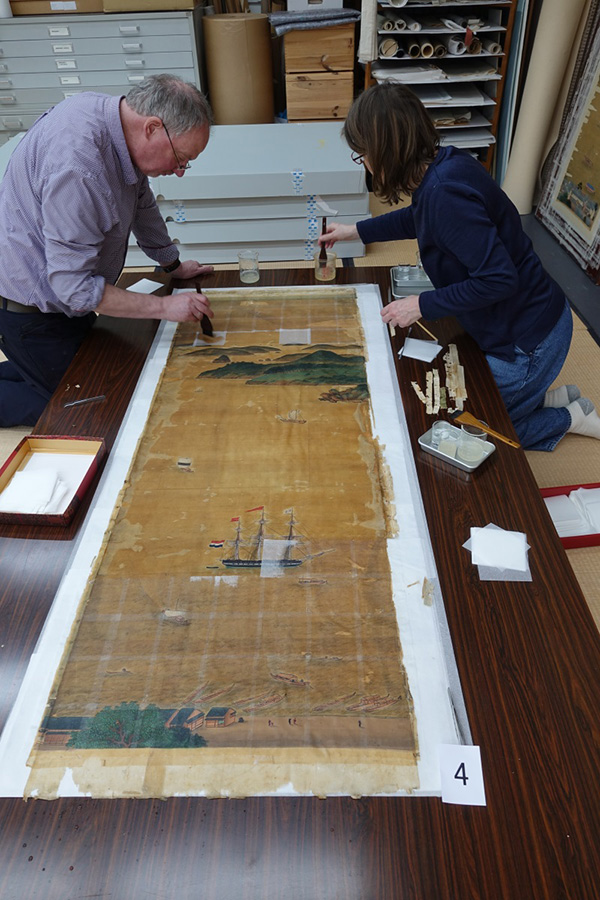
First, some reassuring news: in spite of the current corona crisis, restoration work is continuing every day. The restrictions have their impact, however. For instance, Restorient has welcomed Naoharu USAMI, restoration specialist from Kyoto, to Leiden several times. The studio invited him again for further assistance with the treatment, but that visit has been postponed for the time being. Yet, Usami-san is continuously supporting the restoration with his expert advice and preparation of materials, even from afar at his studio Shūtokudō.
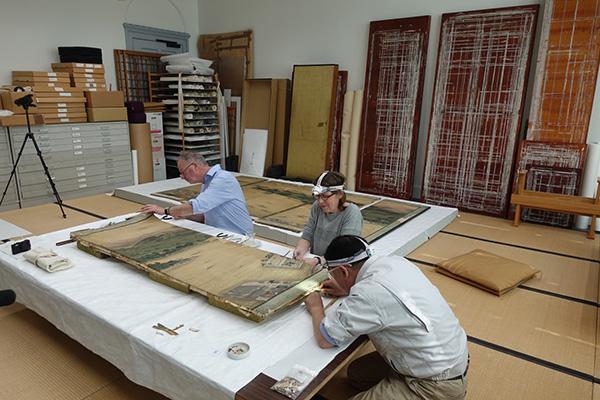
After several blog posts about what is depicted on the screen, it is time for an update about the actual screen itself. Many of our readers are wondering how the restoration is progressing. In this blog post, we hear from Sydney Thomson and Andrew Thompson of Conservation Studio Restorient in Leiden, about the progress they are making.
Practical insight
To give a practical insight into the treatment that is currently being carried out, it is important to understand what the different stages of this part of the process are. So, to sum up for clarity’s sake:
In blog post 008:
- Dismantling the screen
- Consolidating the pigments
- Applying a temporary facing to the front of the painting
- Removing the old paper linings
In blog post 009:
- Filling in the holes in the silk
- Re-lining the reverse of the paintings
- Removing the temporary front facing
- New lattices being specially constructed in Japan
- Applying first layers of paper onto the new lattices
This may be the right moment to emphasize that the list of stages given above is a considerable simplification of the enormous array of smaller and larger steps taken during the actual restoration treatment. Even in simplified form, explaining the process requires two back-to-back blog posts to cover everything. But each step is as intriguing as the next, and each stage requires the highest expertise.
Step 1: Dismantling the screen
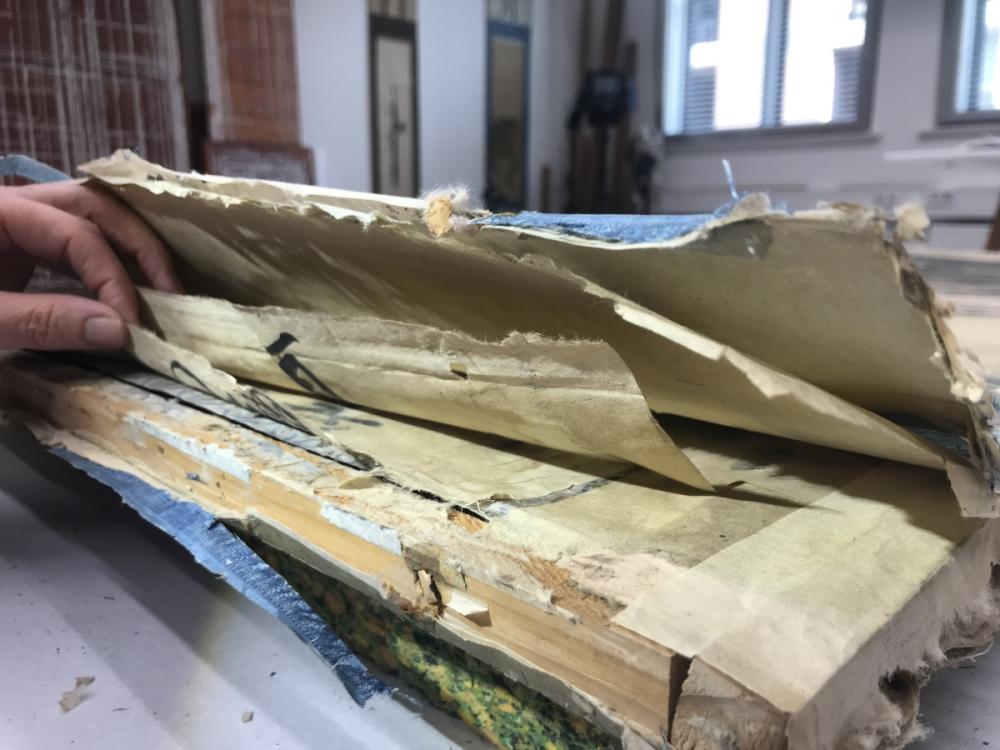
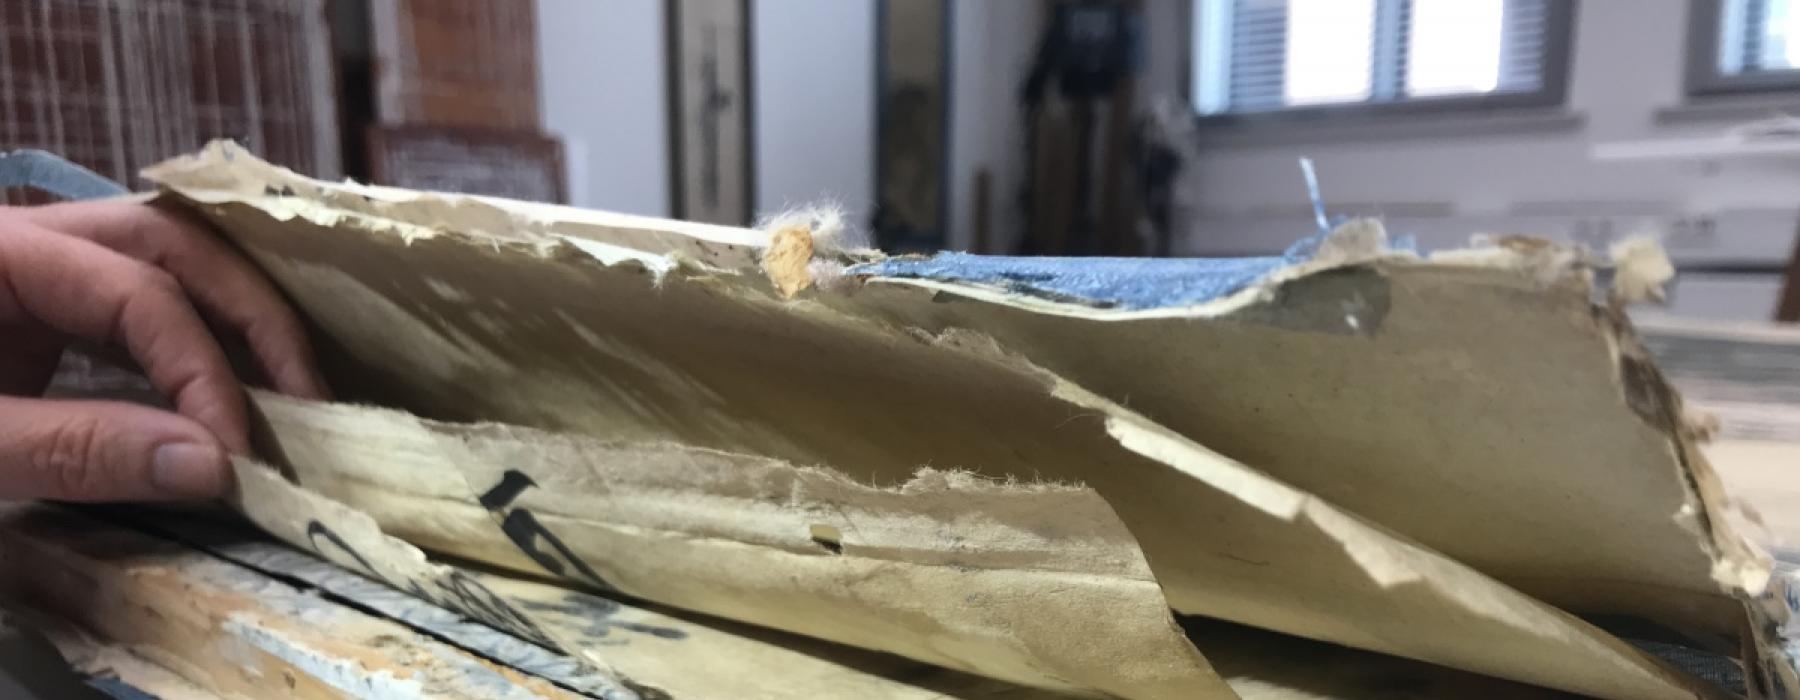
Dismantling the screen is an integral part of the traditional remounting of Japanese screens. This sounds intimidating to say the least, but for restorers trained in Japan, it is a practice that is tried and proven over many centuries. First, all eight paintings are removed from the individual panels.
As explained in blog post 003, the dismantling reveals several layers of old papers that include calligraphy practice (corrected by a teacher), multiple types of old Japanese wallpaper, documents related to the Chinese settlement in Nagasaki, and many other fascinating scraps. These two centuries old papers cannot be reused for the construction of the screen. Instead, they are being catalogued and stored separately, and will be digitized once every piece has come out, for future study.
Step 2: Consolidating the pigments
After more than 180 years, many pigments have dried out completely and lost any elasticity. In order to make sure they do not come loose during the restoration process they are consolidated with a deer-glue size. This special material is called nikawa in Japanese, and is also traditionally used as a binder for pigments in Japanese paintings. This consolidation step was carried out meticulously on all painted pigments of all eight panels.
Step 3: Applying a temporary facing
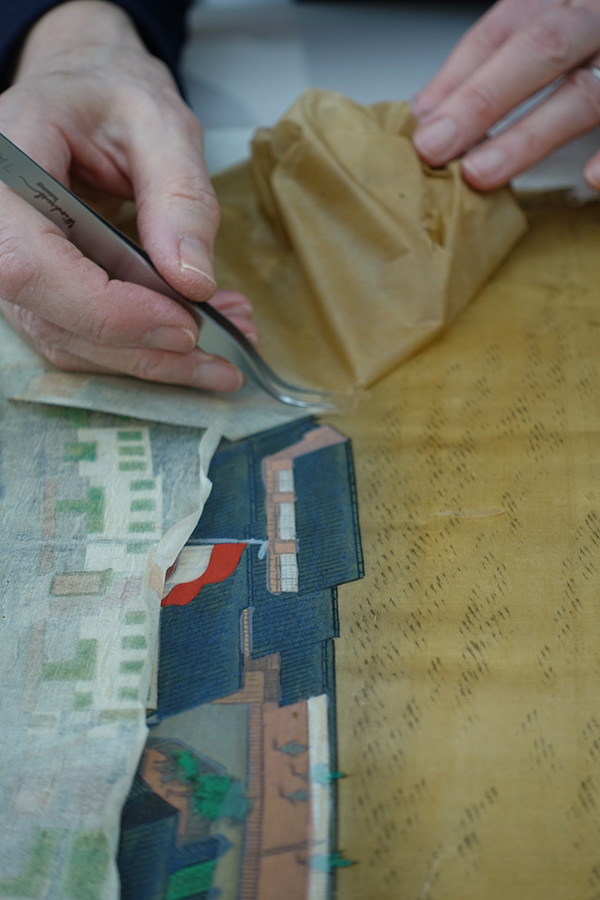
The silk on which the painting is laid down is lined with thin Japanese paper, as per usual. This lining paper has deteriorated and discoloured - also not unusual - and has to be replaced entirely. However, simply attempting to remove them would compromise the brittle old silk with devastating consequences. Therefore, a temporary facing is applied to the front of the silk – i.e. on top of the painted pigments. This facing is called omoteuchi and consists of three layers of modern rayon paper glued down in small square sections, with a removable seaweed paste. That seaweed paste does not damage the paint, in fact, it pulls dirt out of the silk while leaving the pigments in place.
Step 4: Removing the old lining paper
Once the silk is stabilized with the front facing, the painting is turned over. Then, the careful removal of the old lining paper can begin. Fortunately, the bond between the old lining paper and the reverse side of the silk was not all that strong in this case. Removing the lining revealed what the restorers already suspected from their previous experience restoring paintings by Keiga: reverse painting. In Japanese this is known as urazaishiki, which translated literally to ‘colouring on the back’. As a silk weave inevitably has tiny apertures, the pigments applied to it will not form entirely solid fields of colour. In order to achieve a better coverage, and therefore more solidity and depth in the colouring, pigments are also applied to the reverse side of the silk, after the front has been painted.
Read more blogs!
Curator East Asia Daan Kok and Research Associate RCMC/Japan Davey Verhoeven write about the restoration and the results of their research of the folding screen every month. Those blog posts can be found on this overview page.